How to build a headless WordPress website with ReactJS & Frontity - Pt. 1

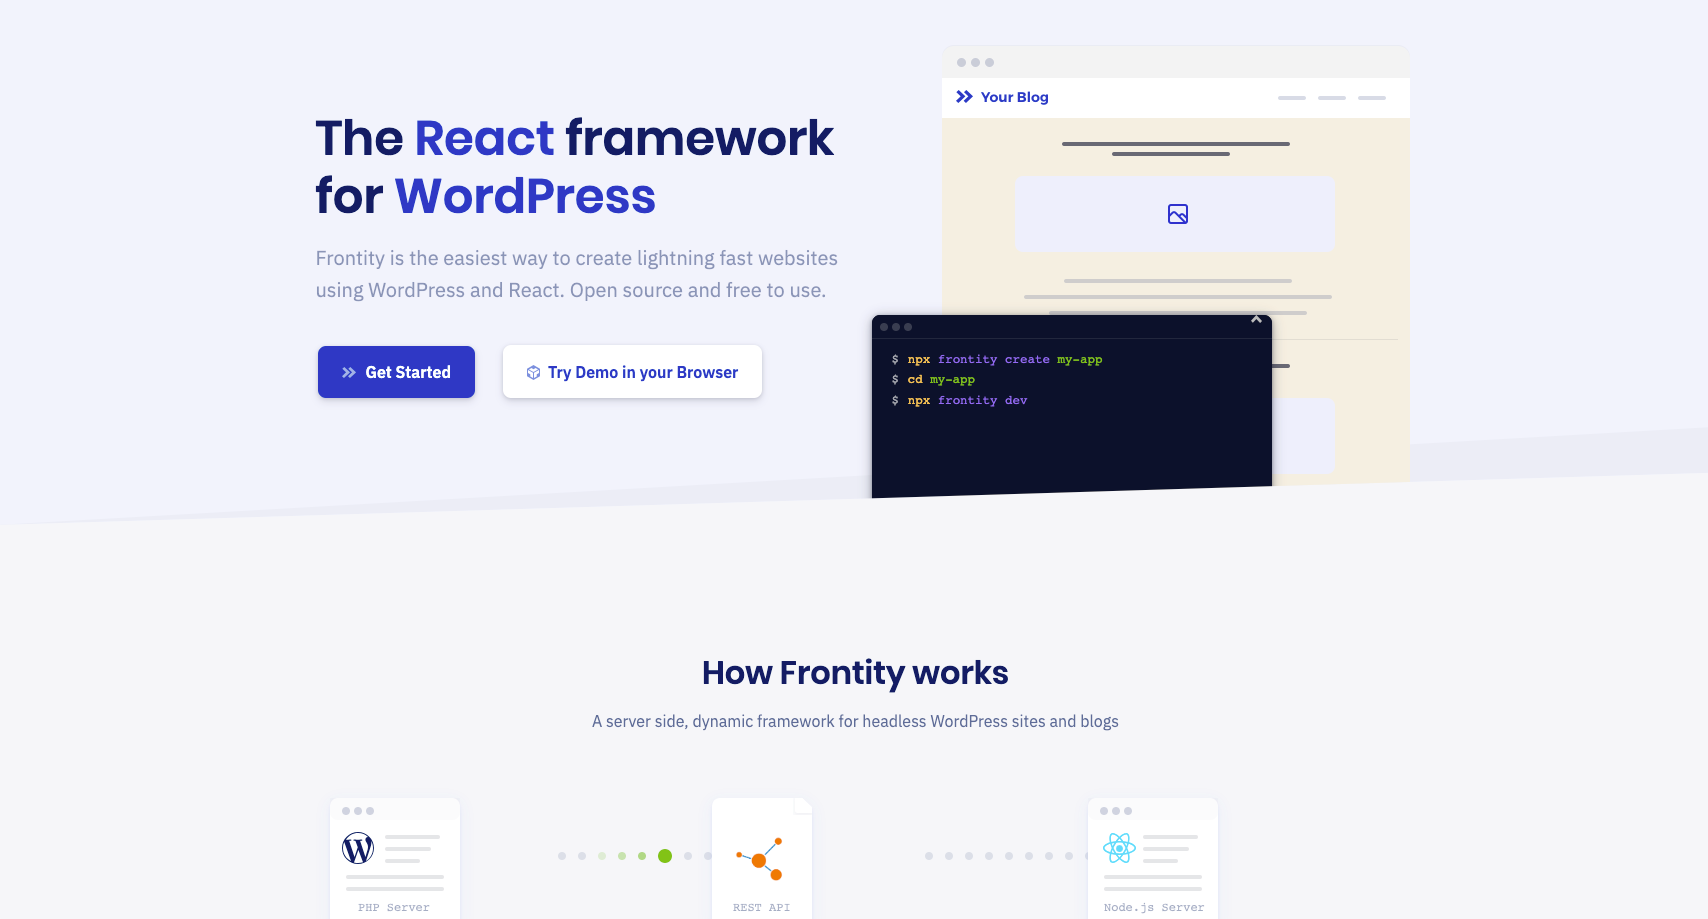
I've previously written about Frontity the React framework for WordPress and how it can be a useful and very easy way to decouple WordPress from it's front-end. Using the WordPress REST API and Frontity allows you to harness all the power of ReactJS and it's component driven design model for your website's front-end and still use WordPress for storing and serving your content.
In this 3 part tutorial, I want to summarise how you can get started with the framework and build a website with a decoupled WordPress as a headless Content Management System and a Frontity front-end application. Although the Frontity documentation is comprehensive, I found when I built my first Frontity website I had to dig through the documentation, basic tutorials and ask questions on the community forum to get the answers to some of the questions I had. Frontity's "getting started" tutorial shows you how to set up a basic blog, but my use case for Frontity was a WordPress website, so the aim of this tutorial, will be to tell you how I did that.
This tutorial will cover the basic details, but I'll also include links to the relevant documentation where full explanations on the framework's concepts can be found.
Before I get started. I'm going to do a little recap on how exactly Frontity works.
So, here's a little overview straight from the Frontity documentation...
"In a Frontity project, WordPress is used as a headless or decoupled CMS, just for managing the content. Frontity uses data from the WordPress REST API and generates the final HTML that is displayed in the browser using React.
You still use your WordPress dashboard to edit and create content in exactly the same way that you are accustomed to. As you make changes content is automatically updated in your Frontity site, just as it is when using a traditional WordPress theme.
Frontity apps require both a Node.js server and a WordPress server (PHP) to run on. And there are two main Frontity Modes (architectures or configurations):
-
Decoupled Mode: in this mode Frontity fetches the data from the REST API of the WordPress Server and returns the final HTML to the visitor as an Isomorphic React App.
-
Embedded Mode: in this mode the Frontity Embedded Mode plugin replaces the PHP theme and makes a request to the Frontity server to retrieve the HTML as an Isomorphic React App, which is returned to the visitor by WordPress.
Depending on the mode used, the main domain (e.g. www.domain.com) will be connected either to the WordPress/PHP Server (in Embedded mode) or to the Frontity/Node.js server (in Decoupled mode)." - How does Frontity work?
For the purposes of this tutorial, I will focus solely on the most commonly used (and in my opinion preferred) mode - Decoupled Mode.
Step 1
As stated above, the Decoupled Mode requires a WordPress Server. So the first place I like to start is finding a hosting provider and installing WordPress on it. Assuming you have purchased a domain name and hosting provider previously, I'll spare you with these details. As long as you can install WordPress, then you're good to go.
One thing to consider before you install WordPress however (although it's not necessary), if you have the option to add a sub domain, sometimes it's preferable to install WordPress on a subdomain like "wp.mydomain.com" with the intention of pointing the main domain "mydomain.com" at your Frontity installation that will be hosted elsewhere, my recommendation is Vercel, where in most cases, the free package can be used. Alternatively, your WordPress installation can live on an entirely different domain name.
Frontity only works with WordPress Versions <= 6.0.1 so if you've installed a more recent version, which at the time of writing is the case, then you'll need to roll back to this.
Frontity works out of the box without having to install anything else on the WordPress side. However, the documentation only covers manually added menus. If you want the menus on your frontend to be automatically added when you add menu items in WordPress, then you'll need to add a plugin to your WordPress installation. You'll need to install and activate the WP-REST-API V2 Menus plugin**.** This plugin will help to expose your menus in the REST API.
Assuming you already have your design ready, you should start by adding the page/pages and then the menu/s to WordPress. Again, I'm working on the assumption that you're familiar with the basics of WordPress in 2022, to spare you the details.
At this point, you should have some pages and menus added to your WordPress installation. And if you navigate to "mydomain.com/wp-json/menus/v1/locations" you'll find that the menus have indeed been exposed in your site's WordPress REST API.
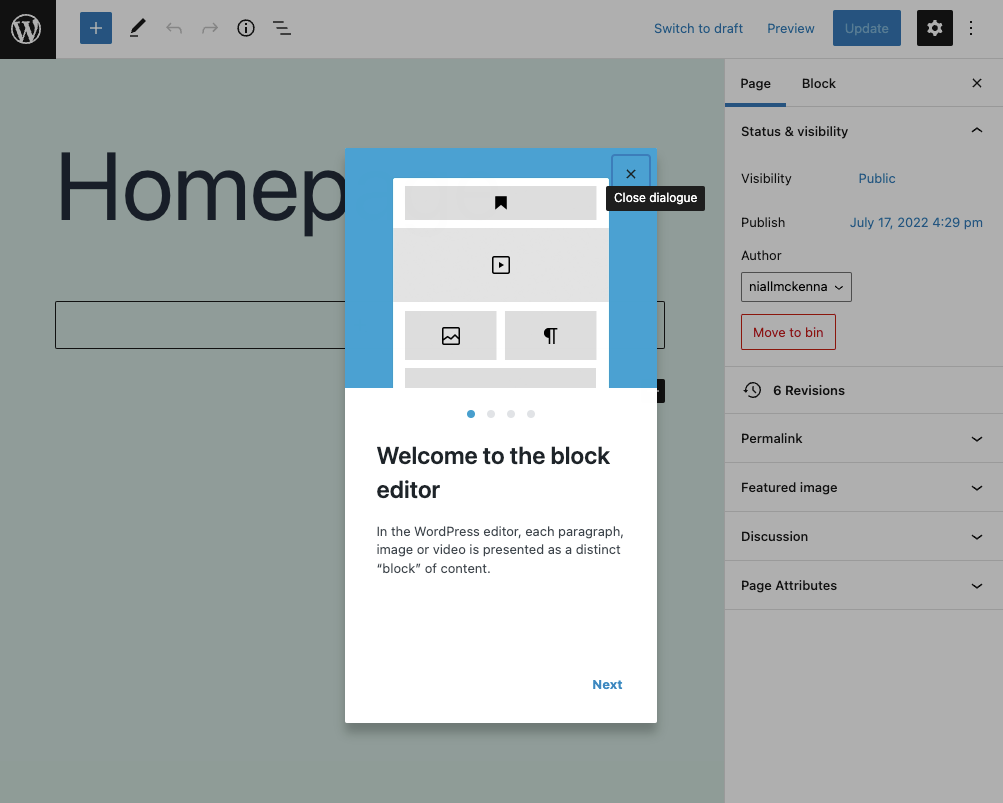
You can also try adding some content to the pages, I usually do this in the WordPress block editor. Based on my design I'll add blocks that basically outline and divide up my design's structure, adding class names to content sections/divs I intend to style in Frontity. This will include content like images, pdf documents and even contact forms. It's important to remember that WordPress plugins can be used in a Frontity front-end app.

Continue reading...
- How to build a headless WordPress website with Frontity / ReactJS - Pt. 2 + How to build a headless WordPress website with Frontity / ReactJS - Pt. 3
This story is also available @ https://www.nmk.dev/post/how-to-build-a-headless-wordpress-website-with-frontity-reactjs-pt-1-9cc49f63981e